Are you an audio enthusiast who always dreams of launching your own podcast or maybe wish to craft some pristine audio recordings, all within the cozy confines of your home studio?
Well, it’s time to make your dream come true!
Don’t worry, you will not have to rob a bank or rent a lavish studio. Instead, with the right knowledge and recording equipment, you can turn any corner of your home into a recording haven.
From setting up the space to recording, mixing, and exporting the song – we have got you covered!
So, grab those headphones, tune in, and let’s start our journey of recording your very first masterwork in a home studio.
Setting Up Your Home Studio And Recording Process
From crafting melodies to adding the final touches, each step in the process contributes to your unique sound. Let’s dive into the essential stages of recording audio in your home studio.
1. Create A Home Recording Studio Setup
The first step to recording your audio in a home studio is certainly setting up the recording space. After all, without having a dedicated home studio setup, you will not be able to get the mood and ambiance to showcase your creativity.
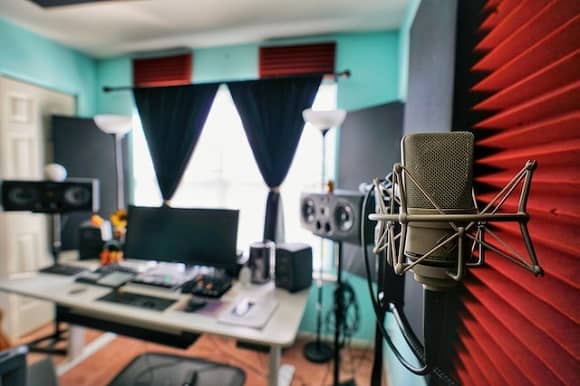
Look for a quiet and cozy space where you can place all your equipment with nobody to distract you. Bedrooms or dedicated rooms often work well. Acoustic panels can be placed on walls to improve sound quality by reducing unwanted sound reflections.
Creating an optimal acoustic environment doesn’t mean you have to turn your space into a professional music studio. Simple adjustments like using blankets or pillows can also make a difference. Many music producers start with small home studios, and you can too.
So, whether you’re just starting out or looking to upgrade, remember that with a bit of acoustic room treatment, you can transform any corner of your home into a cozy and effective recording space.
After choosing the place, it’s time to ensure that you have the right equipment at hand. Don’t worry, you will not need the most expensive or loudest components.
Instead, a few basic things that suit your requirements and budget are needed to get you into the business.
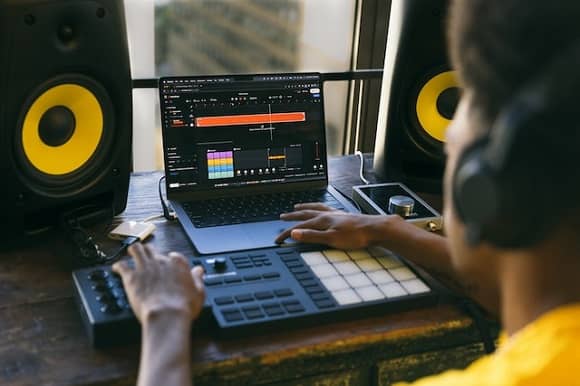
For instance, a sturdy computer, an audio interface, studio headphones, a microphone, Digital Audio Workstation (DAW), a MIDI keyboard, amplifiers, pop filters, a recording mixer, etc.
And in case you are a multi-instrumentalist, it’s time to put those skills to some proper use, like consider playing guitar chords on the piano. It is certainly a cool skill to have and is like a melodic partner–in-crime with whom you can bring the best version of yourself!
2. Run A Digital Audio Workstation
This is where the real journey is about to begin!

Digital audio workstation, or DAW, for short, is your ultimate musical playground within the digital realm. It is where you will record, edit and mix each of your creations to perfection.
In case you are using a Mac, it will already have the preinstalled GarageBand. Otherwise, you can easily download established options like Audacity, FL Studio, or maybe the industry-standard professional Pro Tools.
That is, the ultimate goal is to find the ideal software that you can make the most use of. Once you have got it installed, your first task is to learn and familiarize yourself with the layout.
I remember those initial moments – the array of buttons and features can seem daunting. Yet, take solace; it’s a passage every creator navigates. With dedicated practice, you’ll soon be maneuvering through your chosen DAW as if you’ve been conducting symphonies with it for years.
3. Organize What To Record
Once your song and all the components are ready, it is time to move on to the next step. That is, planning things right from the beginning to the end.
In case you have any ideas, make sure to note down everything in your notepad. Otherwise, it may get out of your mind.
From killer guitar riff to funky bassline, make sure to have a clear concept of what you are aiming to create. As once you have your focus, the path will become much easier to walk on.
Besides, as we all know, it usually takes about one day or more to record audio as there may be multiple tracks that need to be merged into a single file – containing all the music, effects, and vocals to make it a masterpiece. Therefore, organize these things properly so that you don’t face much hassle later on!
4. Set Up Your Equipment
From the cables to the supporting components, like the amplifiers – make sure to connect all the necessary things to the recorder. For high-quality audio, it’s better to connect them to a professional audio interface and mixer rather than the computer directly.
As a result, you will be able to test them out, modulate the volumes coming from each of the audio channels, and last but not least, be able to make a recording – making sure it sounds exactly the way you want to.
This, in return, will save you a lot of the editing time and extra effort that you would have to do during the post-production.
5. Create Your Base Track Or Guide
Creating the base track or guide is like setting the foundation of your musical masterpiece. Something you will not want to take a risk!
That’s why to make sure you have a precise beat, following a base track or guide is extremely important if you want to ace.
From recording vocals or downloading a metronome to using a pre-recorded drum loop – this track will be your guiding light throughout the process. Ultimately it ensures everything stays perfectly in sync and helps position other equipment precisely where they belong.
6. Record The Rhythm Section
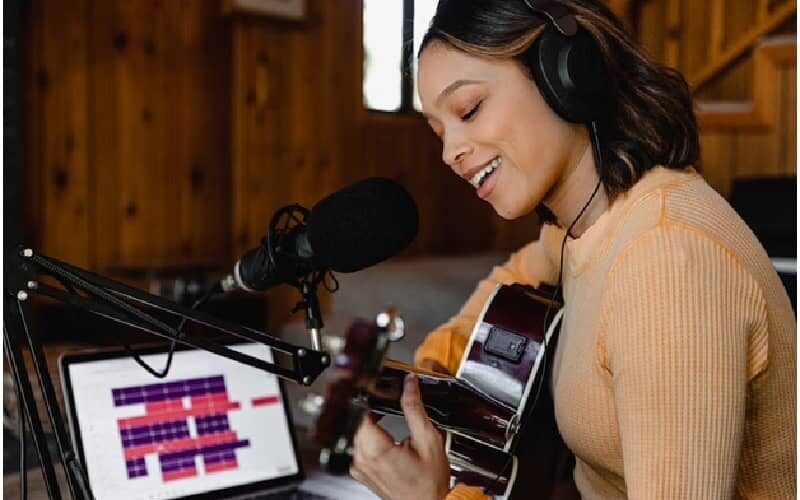
Be it drums, acoustic guitar, or just a booming bassline – try to capture each of the raw energy and rhythmic magic coming.
And in case you are using real equipment like studio microphones, consider different mic placements to find your sweet and perfect spot. For digital recording, you can experiment with various virtual equipment to find the perfect fit – matching your vibes.
Record as many separate tracks as you require, and for any errors, trim and replace them with subsequent clear recordings at any time during the post-production.
7. Record The Harmonies
Harmony – they are like secret ingredients that will bring a magical touch to your music and overall music production. However, to nail it, you will have to find the right balance.

How to do it?
Well, it’s pretty easy. Start by identifying the key of your song and then trying out various kinds of harmonies until you find your desired one.
Don’t hesitate to experiment with varied intervals – third, fifth, or even the octaves. The only thing to keep in mind is you have to strike the gold harder and get that perfect harmony that will make you shiver down your spine.
After all, music should be like this – mesmerizing you with its amazing tone and melody!
8. Record The Melodies
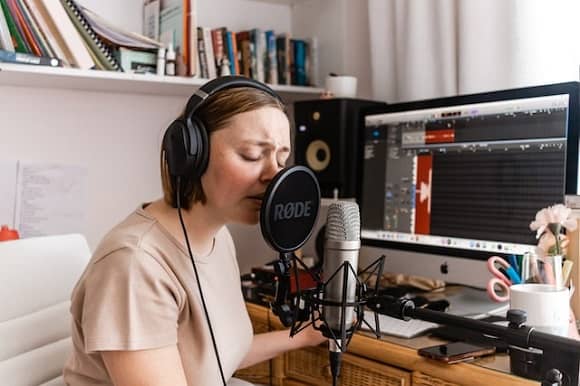
Moving on to the melody, it is certainly the heart and soul of any song – consisting mainly of the lead guitars and vocals. Hence, to get that perfect blend of melody, it requires much accuracy and passion.
So, before you click on that record button, make sure to have a good practice and find that sweet spot where the melody just hits.
Try to feel each of the emotions behind each of the notes and let your voice just go with the flow, as only then will you be able to create pure musical bliss.
9. Add Color And Effects
Adding color and effects are kind of adding those few finishing touches as needed to get that perfect version, much like adding the right spices to a bland dish to make it into a mouthwatering one.
From the reverbs to the chorus effects – the list goes on!
Besides, there is also equalization (EQ), with the help of which you can simply bring out the richness in your sound. And if required, don’t be afraid to try out the unique plugins. Plus, who doesn’t love colorful things?
10. Clean Your Tracks
This is the part where you have to work on removing any kind of unwanted background noises. It can be anything from the sound of the air conditioner to your coughing sound, breaths, dead air, or maybe the neighbor’s lawn mower invasion.
Luckily, noise reduction plugins are here to the rescue!
From turning into a totally serene and noise-free haven, nobody will even get the slightest doubt about where it is recorded.
That much super cool they are!
Next up, we have gentle compression. They are those little hugs that our audio needs to keep the loud parts right in check while boosting the quieter sections. In other words, it will offer you such a smooth and consistent sound that any listener’s ears will thank you for such a marvelous creation.
Talk about some serious turnovers and magic!
11. Mixing
Mixing? Well, you heard it right!
This is where the real sonic art will happen – where you have to bring in all the individual tracks you recorded day and night and mix them up all together to create a masterpiece.
Much like mixing the secret sauce that will bring out all the flavor of your audio in the best way possible.
From playing with the levels to tweaking the EQ, the ultimate goal is to find the perfect mix between each instrument and vocal that will captivate every ear and soul the moment they hear it.
Faders, pan pot, frequency-based processors, and distortion are some of the essential tools of the mixing process. Doing all these may seem a lot and frustrating. However, the end result certainly is worth everything.
12. Export Your Song
Finally, all the hard work is about to be paid off as your audio is going to be released. But before that, make sure to export your song properly. After all, you certainly won’t want to mess up things at the last moment.
Hence, always pick the format of the audio wisely. For instance, the MP3 might be the ultimate one if you are opting for online sharing.
While if you are looking for top-notch sound quality, then nothing can beat the quality of the WAV or FLAC – preserving each and every detail.
Next thing to consider is the settings. Bitrate and sample rate may seem like some big technical words, but, in reality, they can make all the differences.
The higher bitrates, the better in quality it will be, along with the file being larger in size. On the other hand, the sample rate may influence the frequency range of the audio.
Lastly, before you hit that export button, give your song a final listen right from the beginning to the end. And in case you think anything needs a fix, do that right away.
After all, double-checking never harms, and it is always better to be safe than sorry later!
How Much Is A Home Recording Setup?

Creating your very own home recording studio is an exciting venture, but how much will it actually cost? Well, the price tag can vary quite a bit based on what you’re aiming for.
If you’re just starting out, a budget-friendly setup might only set you back a few hundred dollars, covering the essentials. On the other hand, if you’re dreaming of a professional-grade setup that rivals the big studios, be prepared to invest tens of thousands of dollars, or perhaps even more.
There are a few key factors that sway the cost of your home recording setup:
Microphones: The type and number of microphones you need can impact your budget. Different microphones are designed for different purposes, so if you’re recording vocals, drums, and guitars, you might need a variety. Prices range from $50 to over $1000 for high-quality options.
Audio Interfaces: To connect your microphones and instruments to your computer, you’ll need an audio interface. These nifty devices convert analog signals to digital and offer preamps, phantom power, and more. Expect to shell out between $100 and $500 for a decent one.
Computer and Software: Good studio computer needs enough power and memory to handle recording, editing, and mixing. Plus, you’ll need a digital audio workstation (DAW) software like Pro Tools to work your magic. Computers can cost from $500 to $2000, and DAW software might run you $100 to $600.
Speakers and Headphones: Accurate sound reproduction is crucial, so you’ll need studio monitors and headphones. Studio monitors can range from $200 to $1000, while studio headphones might cost between $50 and $300.
Extras: Don’t forget the extras! Cables, microphone stands, pop filters, windscreens, shock mounts, isolation pads, power conditioners, surge protectors and more can add a few hundred dollars to your expenses.
In the end, your home recording setup’s cost hinges on your goals, preferences, and wallet. Whether you’re just starting or building your dream studio, there’s a path for every budget.
Wrapping Up
There you have it – all the key essentials that are needed to record audio in a home studio!
Always remember, the heart of any great recording is not just about the equipment; it’s about the sheer passion and dedication you put into creating the work. You will make several mistakes, but with each time, you will get to learn from them and become much better than ever.
So, what are you waiting for? Go hit that record button and start experimenting fearlessly letting all your imagination go wild.
After all, the entire world is waiting to listen to your incredible audio.
About the Author
Gustavo is a music teacher and classical guitar player from Brazil, currently residing in Dublin, Ireland. He holds a graduate degree in Classical Guitar Performance from the Federal University of Pelotas. In 2020, Gustavo successfully completed a Master's degree in Sound Engineering from the Academy of Sound in Ireland.


